
Custom Rewards: Create, Approve, and Track Redemptions
Custom Rewards let your team spend their shoutout points on perks you define yourself: an extra PTO day, lunch with a leader, company swag, a donation to a charity of their choice, or the best parking spot for a month. They cost nothing to run beyond the perk itself, and they work in both Slack and Microsoft Teams.
Please note: Custom Rewards are available on Standard and Pro plans.
How to Create a Custom Reward
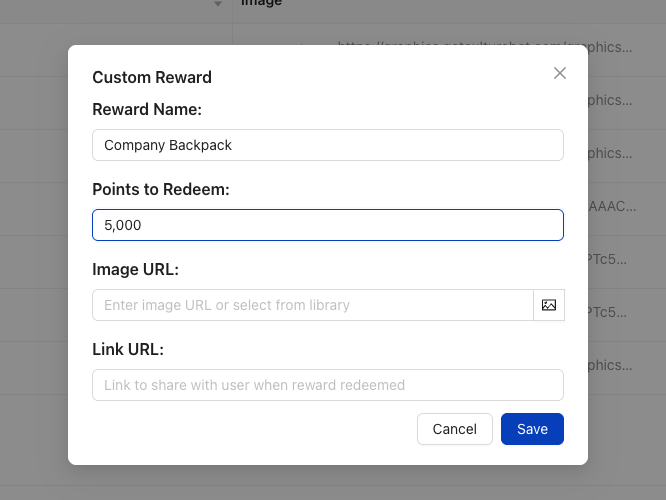
- Open Custom Rewards: In the CultureBot web app, go to Peer Rewards, then Custom Rewards, and click Add Custom Reward.
- Name The Reward: Enter the Reward Name your employees will see in the Catalog.
- Set The Cost: Enter the Points to Redeem.
- Add An Image And Link (Optional): Pick an image from the library or paste a URL. The Link URL is shared with the employee when they redeem, which is useful for a sign-up form or booking page.
- Save: The reward appears in your team's Catalog right away. Use Edit or Delete on the Custom Rewards page to change it later.
If Custom Rewards are not showing in the Catalog, check that the Custom Rewards category is turned on under Peer Rewards, then Settings.
What Do Employees See?
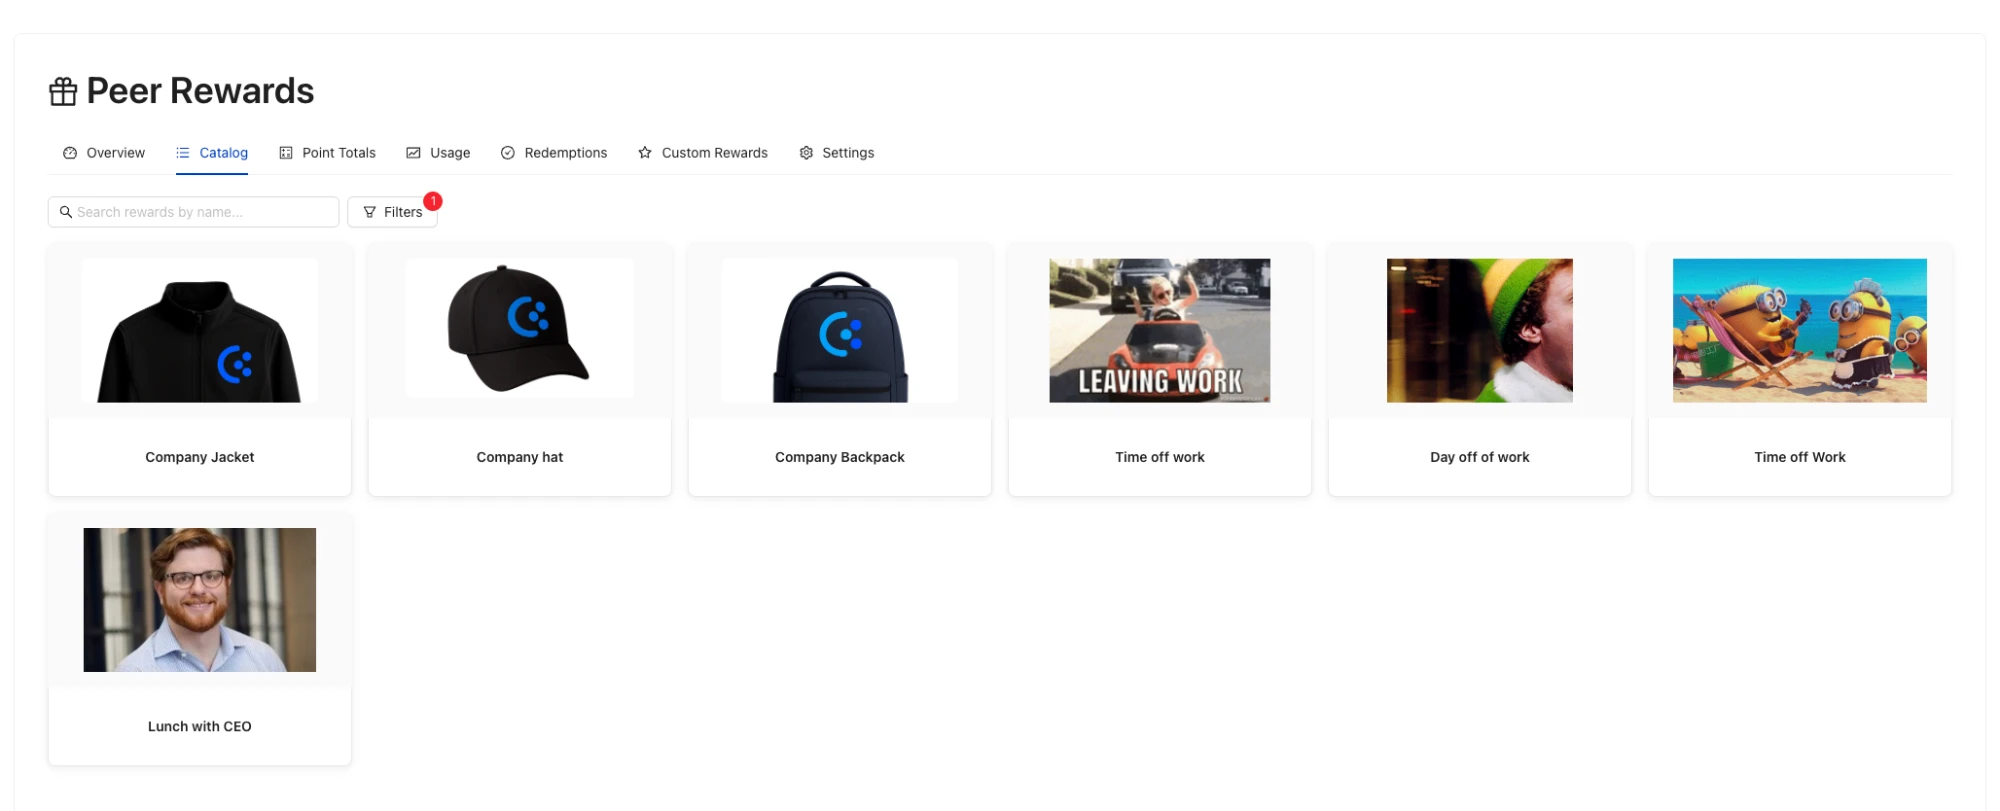
Employees open the Catalog in the web app and choose a reward. If they have enough points, the request is submitted and the points are taken from their balance immediately, while the request waits for approval. Employees get a message in Slack or Teams once it is approved or denied.
Approving and Denying Requests
Every custom reward redemption needs an admin to approve it. Choose your approvers under Peer Rewards, then Settings, in the Approval Admins field. Approvers and your main admin get a direct message with a Review Requests button each time someone redeems. Other full admins can also approve, but they do not receive that message.

- Approve: The employee receives a confirmation message, which you can customize in Settings. Approving does not deliver the perk for you, so follow up to give the employee their reward.
- Deny: The points go back to the employee's balance and they are notified.
- Changed your mind? An approved custom reward can still be denied later, which also returns the points. This cannot be undone.
Viewing Pending, Approved, and Denied Redemptions
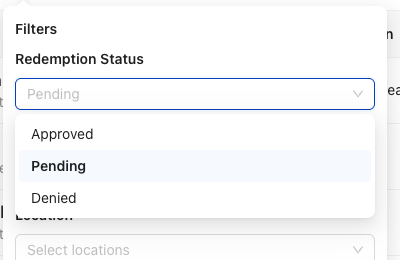
Go to Peer Rewards, then Redemptions. The list shows Pending requests by default. Click Filters and change Redemption Status to Approved or Denied to see past requests. You can also filter by department, location, manager, or group, and click Export CSV to download the current view.
This list includes gift card redemptions too. To set those up, see How To Use Rewards Gift Card Automation. To control how many points people can give, see Points Rules: Setting Shoutout Giving Limits.