
Getting Started and Admin Settings
Welcome to CultureBot! This guide walks you through the first things to set up as an admin: signing in to the web app, finding your way around, adding a co-admin, and getting your company and employee details in place. Once that is done, you'll be ready to turn on your first features.
CultureBot runs in two places. Your team sees messages, celebrations, and shoutouts in Slack or Microsoft Teams. However, you set everything up in the CultureBot web app.
Step 1: Sign In to the Web App

- Open The Login Page: Go to getculturebot.com/app/login. Bookmark it.
- Sign In With Your Work Account: Click Sign in with Slack or Sign in with Teams. If nothing happens with Teams, make sure to allow pop-ups for getculturebot.com.
Step 2: Find Your Way Around
Everything lives in the left sidebar. You land on your own profile; the setup sections are listed below it.

- Directory: Everyone in your company, their details, and admin permissions.
- Shoutouts: Peer recognition, your custom shoutout types, and Shoutout Day.
- Celebrations: Birthdays, work anniversaries, and custom celebrations such as holidays.
- Peer Rewards: Points and the rewards your team can redeem them for.
- Intros, Water Cooler, Experiences, Surveys: Connection and engagement features.
- Company: Your mission, values, community channels, team settings, and brand.
You only see the sections included in your plan.
Step 3: (Optional) Add a Co-Admin
We always recommend adding at least one additional admin so setup and approvals never depend on one person.
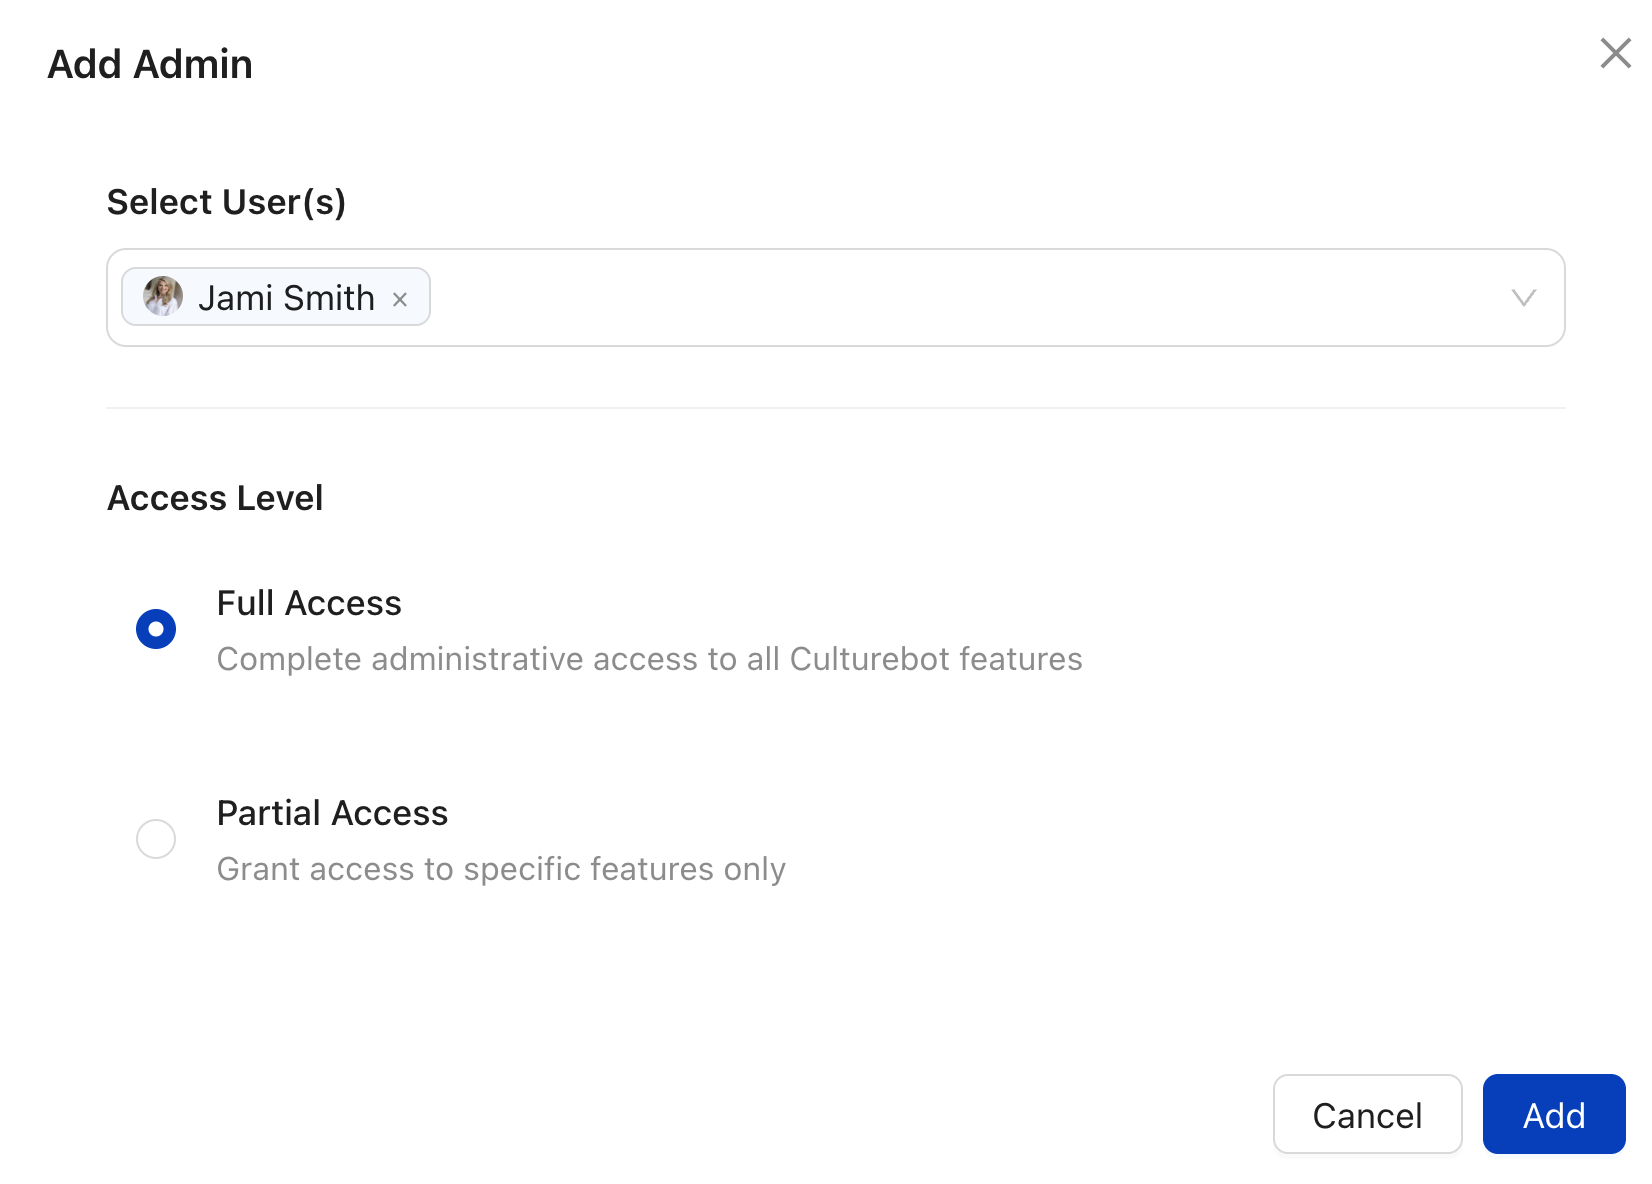
- Open Permissions: Go to Directory and click Manage Permissions.
- Add Them: Click Add Admin and select the person.
- Choose Their Access: Full Access covers everything. Partial Access limits someone to specific features, such as a team lead who only runs Water Cooler (you can select the access you'd like to give them feature by feature).
See Permissions Guide: Full Admins v. Partial Admins for details.
Step 4: Set Up Your Company
Go to Company. What you add here is shown to employees in the web app.

- About: Add your mission, your values or behaviors, and the community channels and employee resource groups people can join.
- Team Settings: Add your locations and departments, and upload company materials such as your handbook.
- Brand: Set your brand colors and company social links.
Step 5: Bring In Your Employee Details

Everyone in your Slack or Teams workspace is added to CultureBot automatically. To celebrate birthdays and anniversaries automatically, send manager alerts, and add richer reporting details such as department and location, you can optionally add their details:
- Upload A Spreadsheet: In Directory, click Import user data and choose CSV.
For more info on using an API connection, HRIS sync, and specific instructions for Rippling and Workday, check out Importing Employee Data into the Directory.
Step 6: (Optional) Invite CultureBot to Any Private Slack Channels You'd Like

(Slack users) CultureBot can post in all public channels, but to post in a private channel it needs to be invited first. We find new teams like to test and experiment features first in a private testing channel - just make sure to invite the app by typing /invite @CultureBot in each channel you plan to use.
Next: Turn On Your First Features
Most teams start here:
- Setting Up Birthdays and Anniversaries
- Setting Up Shoutouts and Custom Values
- Employee Profiles and Badges
Questions along the way? Email support@getculturebot.com.